I’m not really satisfied with how the local photo labs processed my recent rolls of 3mm color film so i searched online for those negative scanners to save money on having film reprocessed in a different lab. It turns out, there's almost no selection to choose from in local electronic stores.
I stumbled upon a site which shows how you can scan your own film at home or make your own negative scanner. I tried it out using similar materials and I was glad my own experiment worked
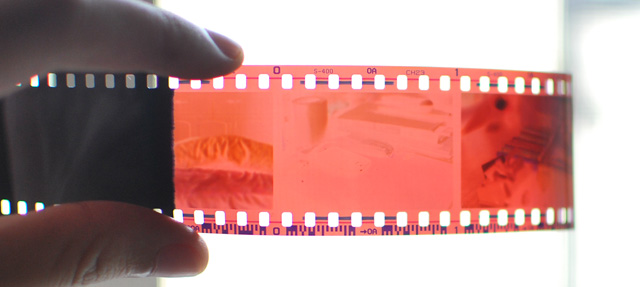
All you need are some developed film strips/roll, a digital camera and a light source. Others would use external flash, a lamp or just available light outside your house or from a window.
The goal is to get enough light behind the negative to expose it properly and then take a picture of it.
See below. I put up this photo on natural light source — the window!
if light source is too bright, a diffuser may be used (or wax paper, translucent white cloth, a curtain or similar) to tone down the brightness a bit.
Take a good and sharp photo of the negative as shown above.
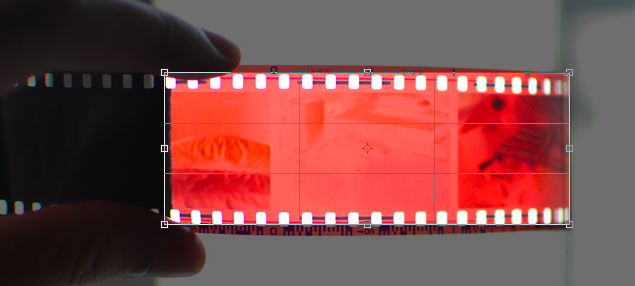
Next, I open the digital shot(s) in Photoshop and cropped the photo to show only the negative and the sprockets (holes on top and bottom).
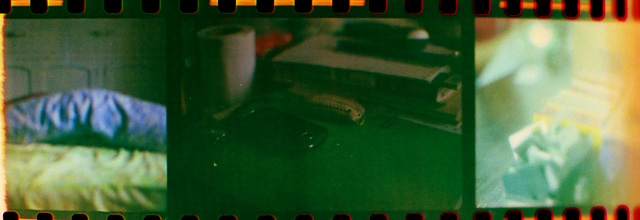
Next comes the best part when you finally see the images. Right now, the pictures appear in reverse (thus the term negative).
Press CTRL + I. This will invert (reverse) the negative’s colors and give you the real colors captured by the camera.
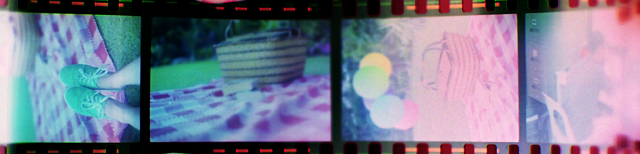
After I did this, I adjust the colors a little just to fix and remove some excessive greenish or bluish tint. It’s not “scanned” perfectly so it's not at all sharp and accurate but with practice, you can get better results.
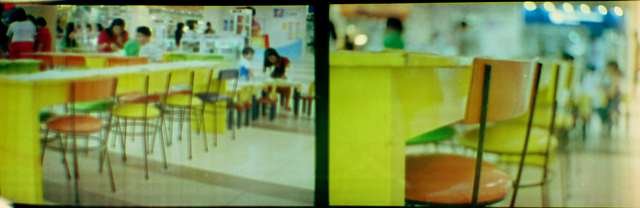
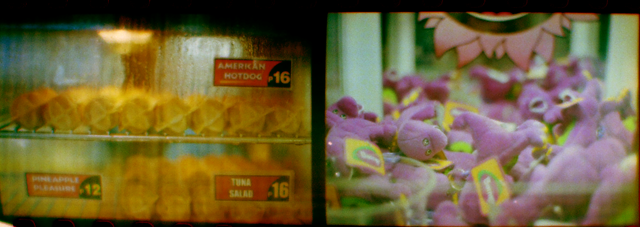
These were some of mine.
That's it! I hope you learned something from this tutorial!