
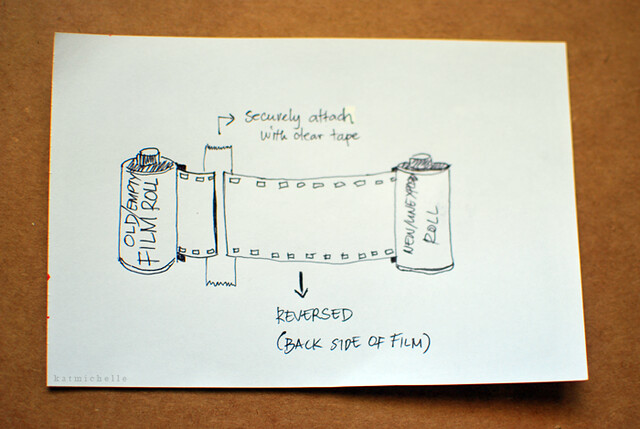
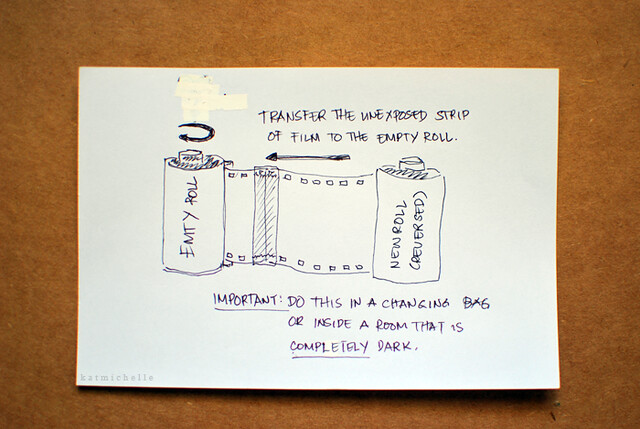
The results were not excellent as i would have wished but i did get the reddish tones i wanted. I don't have photos of how to do the process of transferring the roll so i drew it instead. I hope it's not confusing.
What you'll need:
- an empty spool of film
- a roll of unexposed film
- pair of scissors
- clear tape
- a completely dark room (or a changing bag)
Important: You have to transfer the film to the other spool in a changing bag or in a room that's completely dark so that your film remains unexposed.

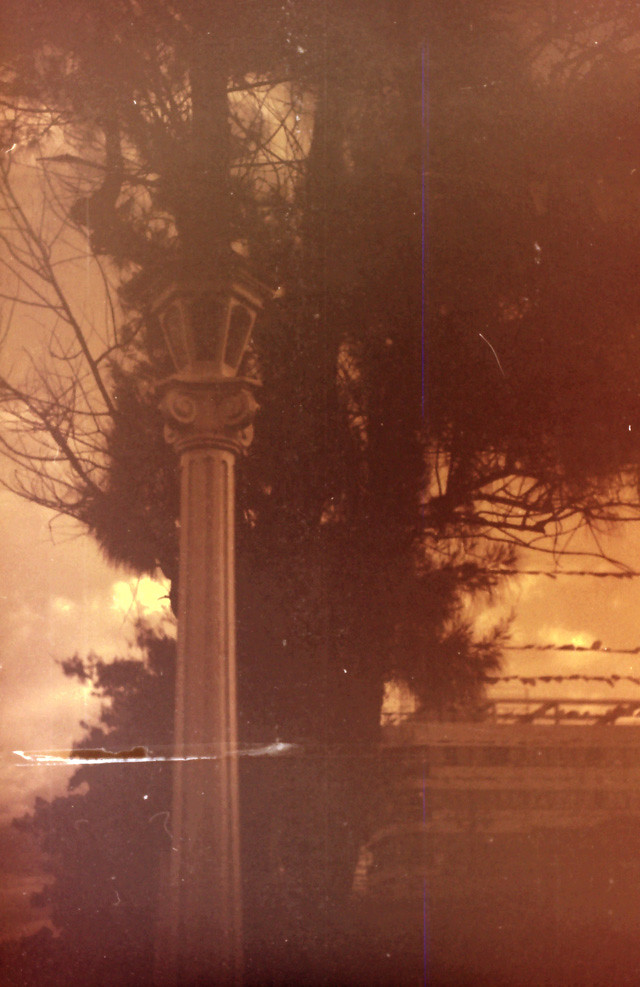
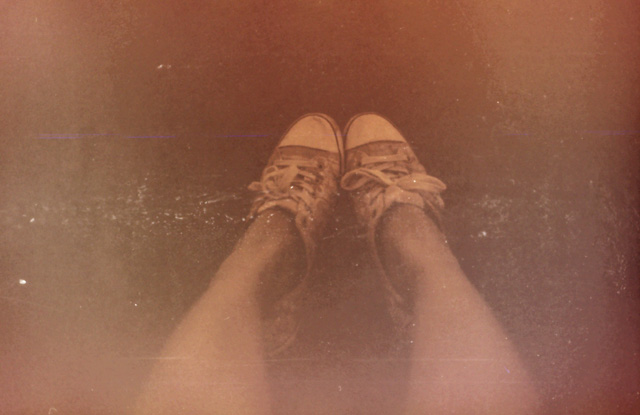

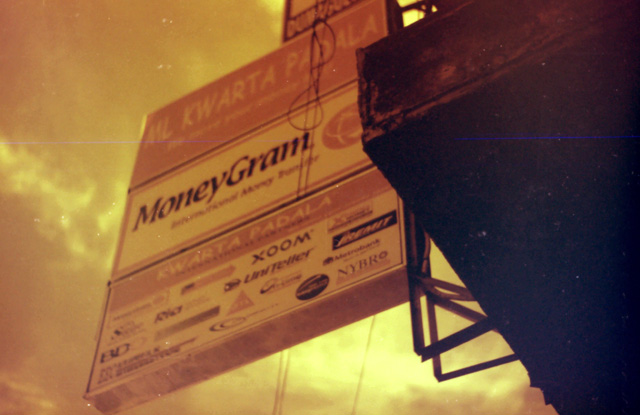
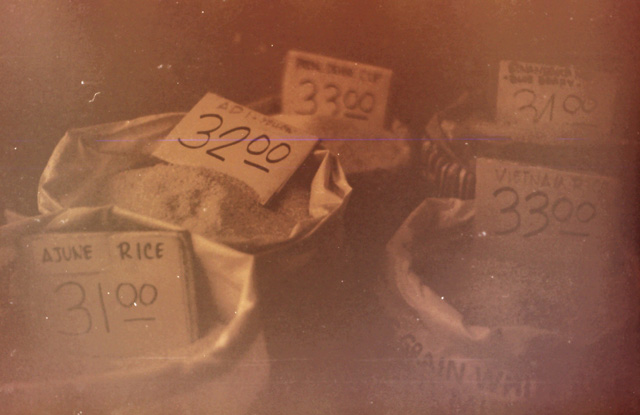
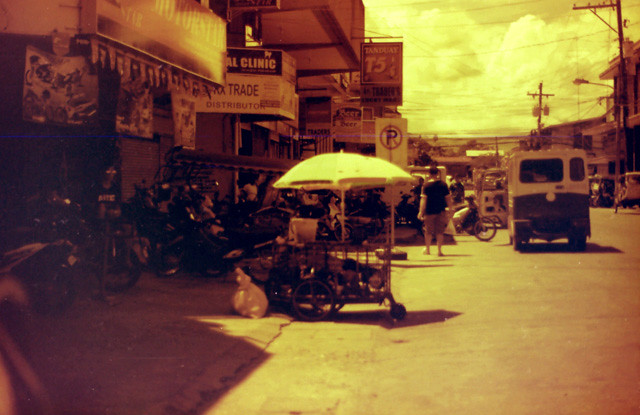
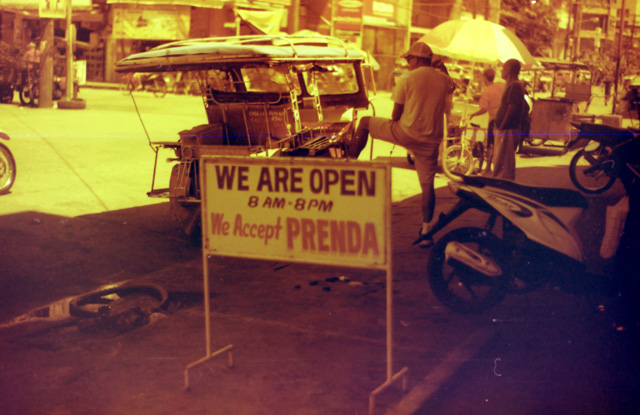
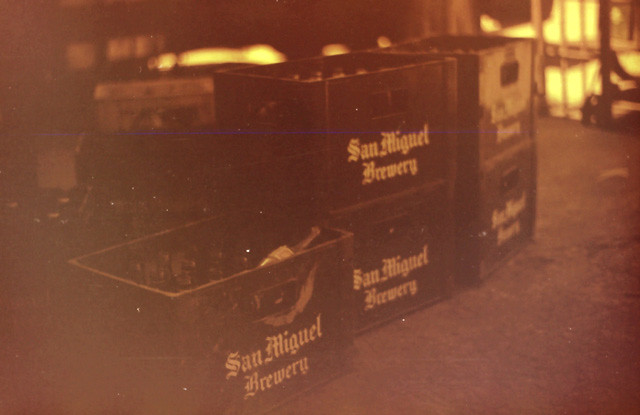

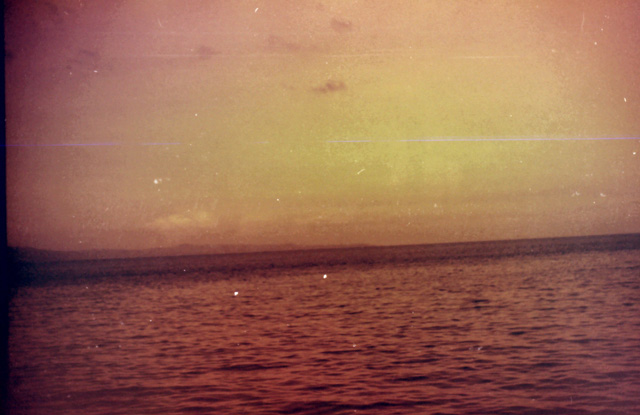
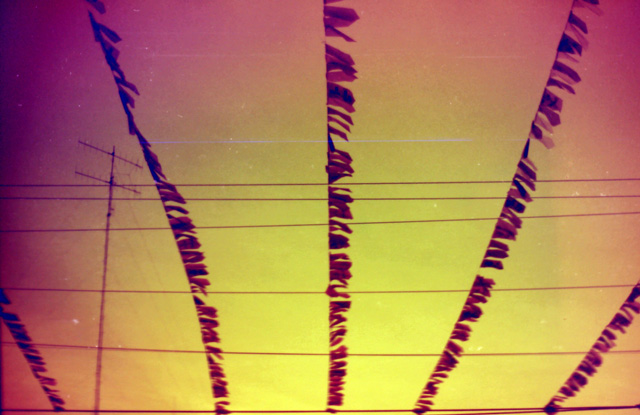

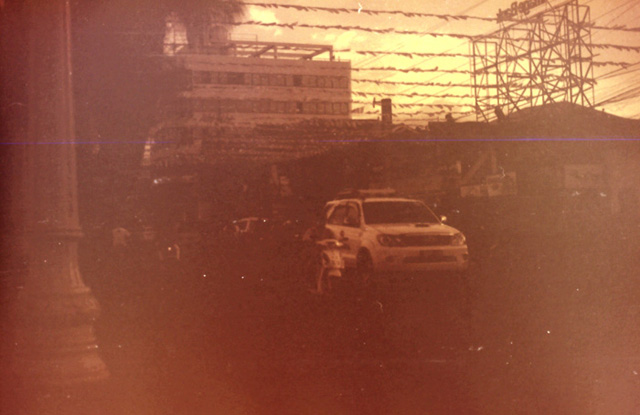
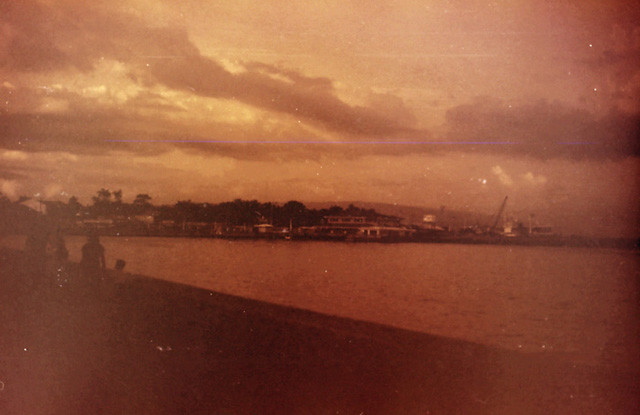

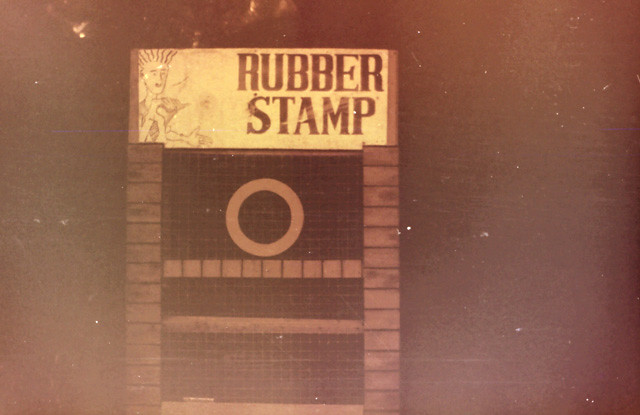
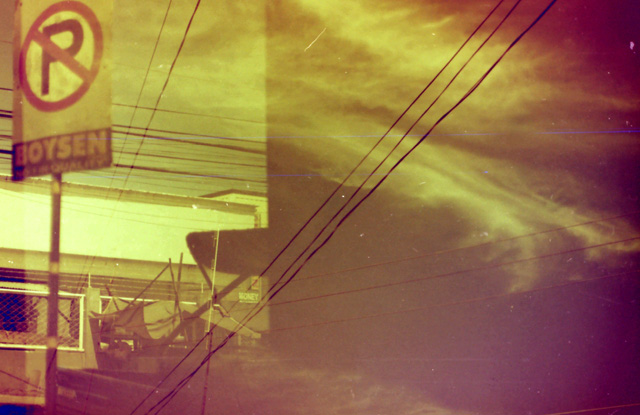
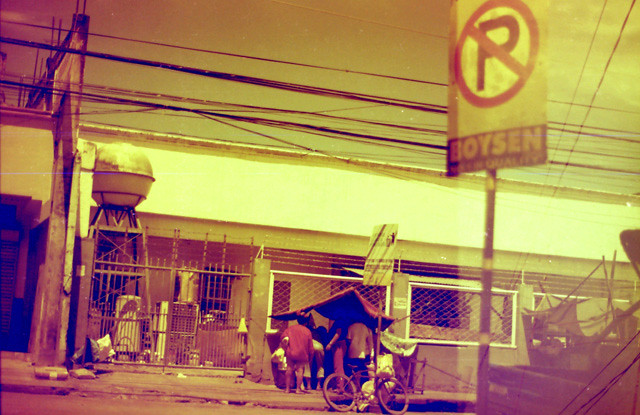

All photos were shot with a Pentax P30 with a roll of Kodak Ultima 100 (one month to expiry date). The film scanner i used was quite bad in quality (CDR-King Film Scanner), plus the lab where i got my film roll developed didn't wipe the strips properly.
I cut the entire roll to 5 shorter strips so i could store them in an envelope and later did i realize the mistake of doing that because now, they are all stuck to each other. I long for the day when i can finally own a good quality film scanner.
All photos were shot around Dumaguete market and boulevard area.
the results are amazing. looks like those were taken decades ago!
ReplyDeleteOh my goodness, these are ABSOLUTELY DIVINE. I have to try this sometime!! And in film, the dirtier the better!! <3
ReplyDelete